Accept a payment with the Express Checkout Element
Use a single integration to accept payments through one-click payment buttons.
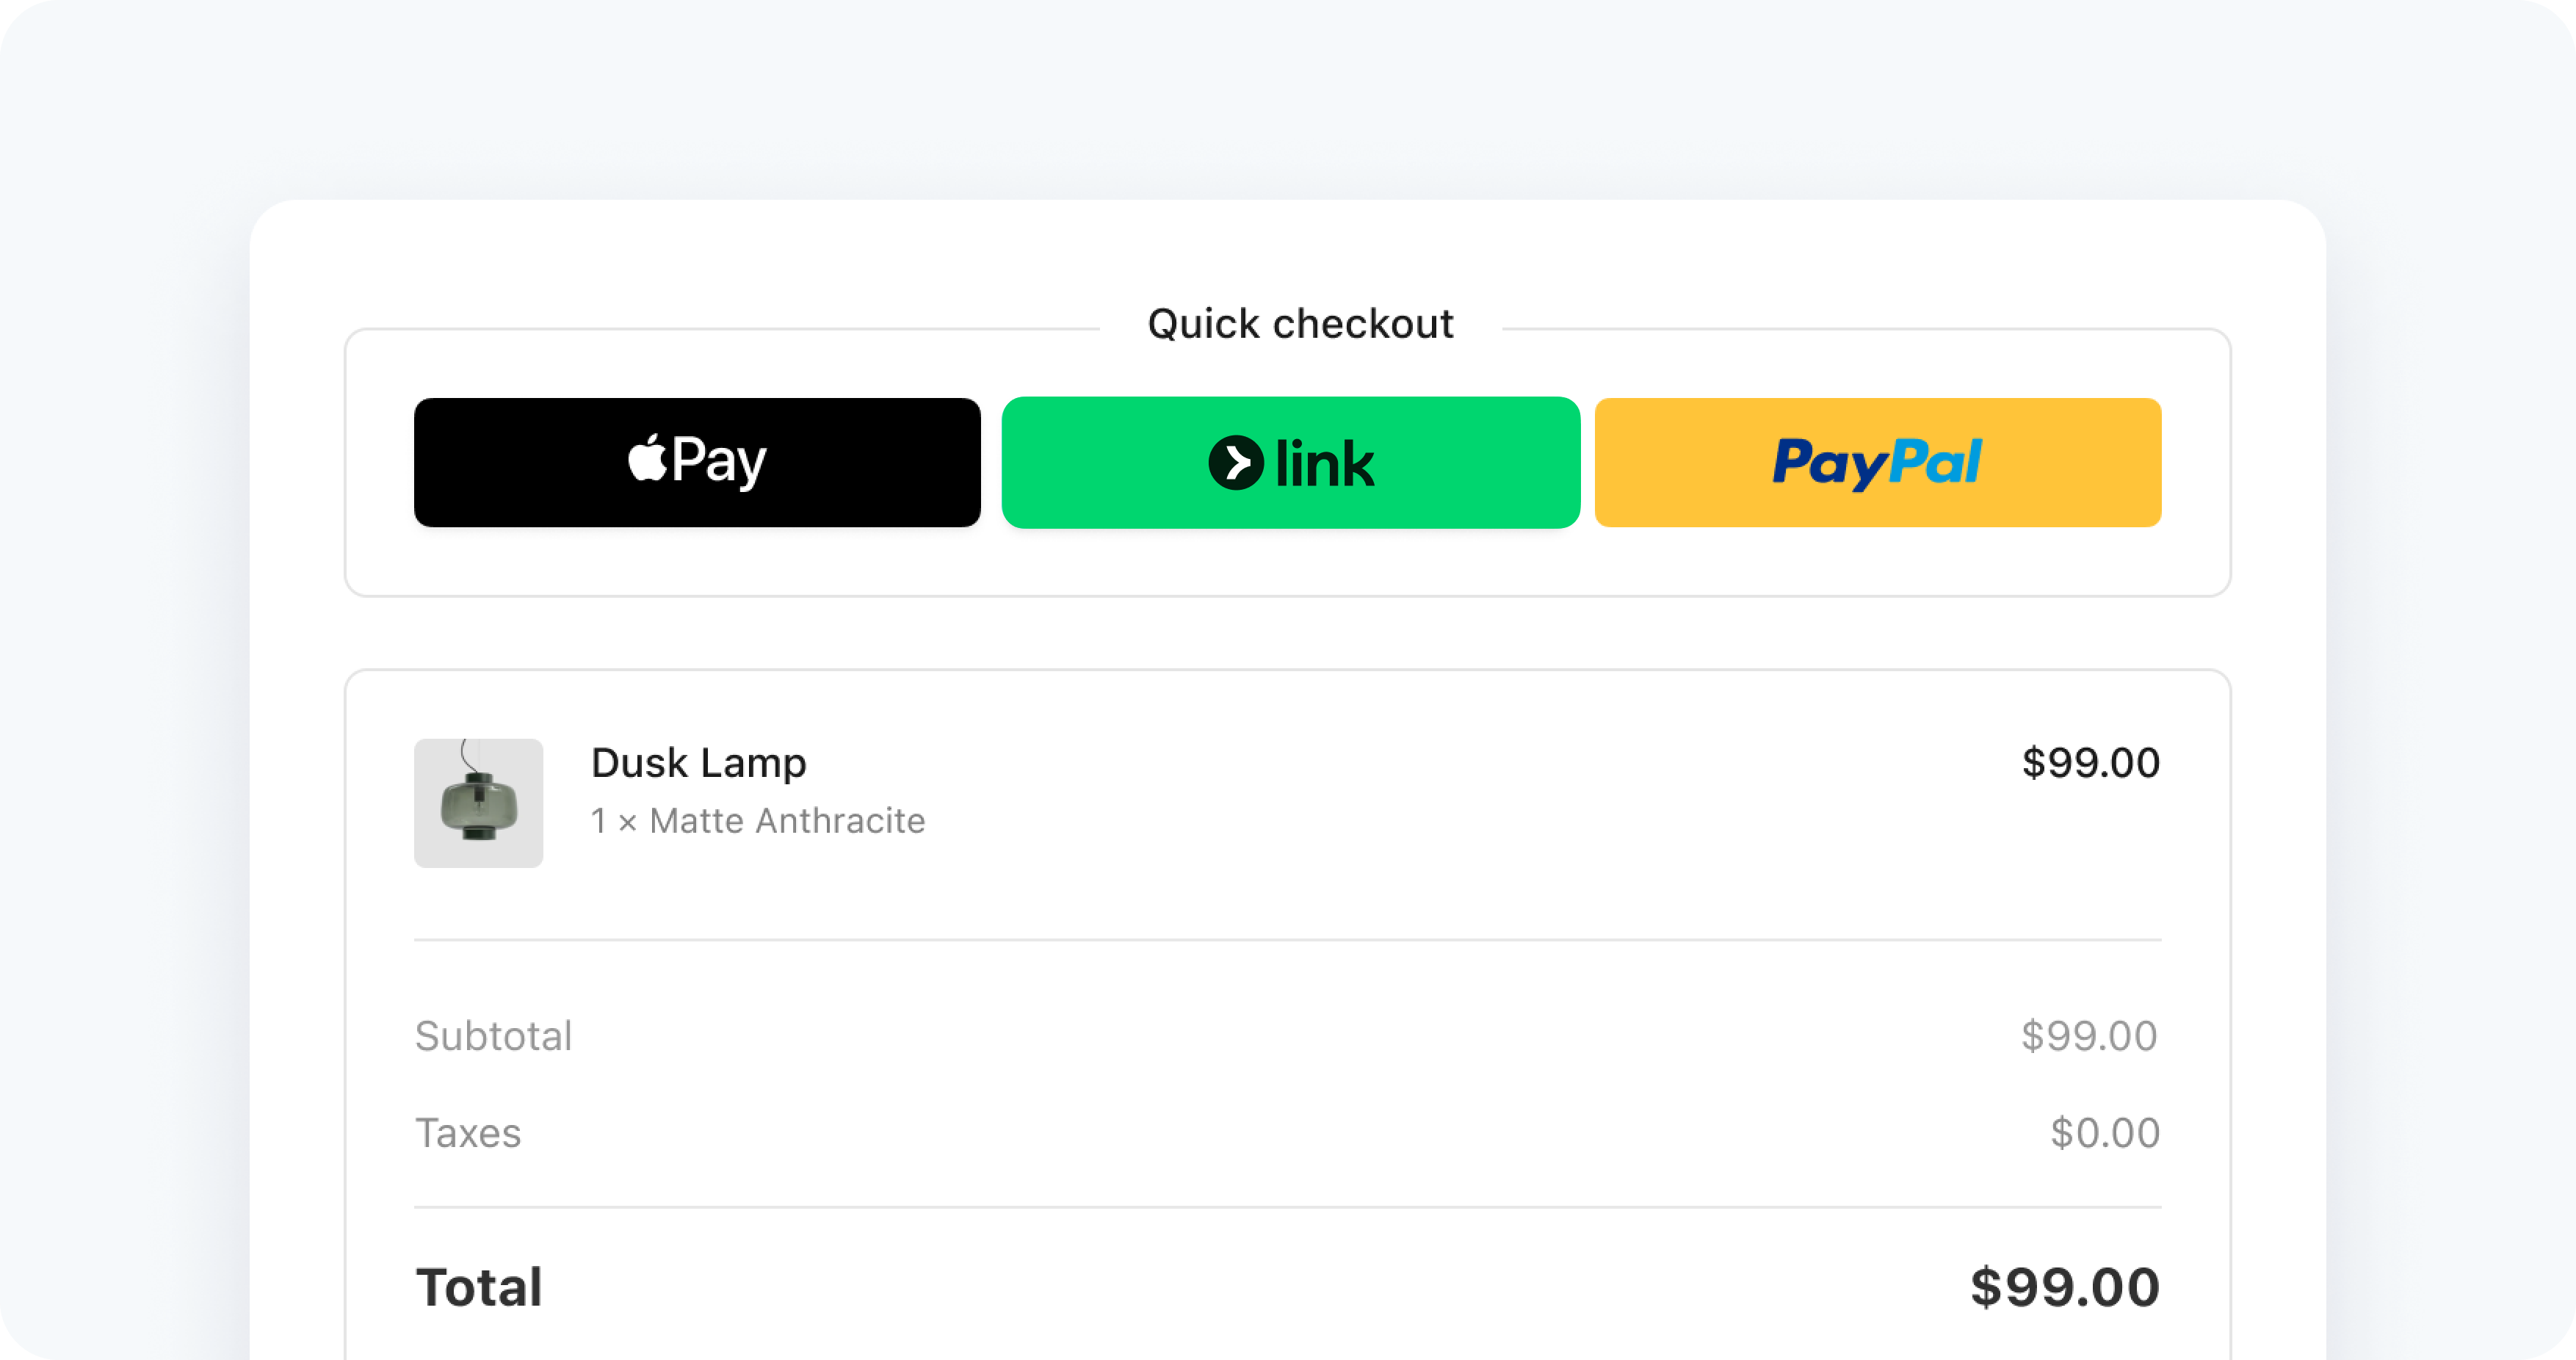
The Express Checkout Element is an integration for accepting payments through one-click payment method buttons. Supported payment methods include Link, Apple Pay, Google Pay, PayPal, Klarna, and Amazon Pay.
Customers see different payment buttons depending on their device and browser. Compatible devices automatically support Google Pay and Link. You must complete additional steps to support Apple Pay and PayPal.
Try the demo
Toggle the prebuilt options in the demo to change the background color, layout, size, and shipping address collection. The demo displays Google Pay and Apple Pay only on their available platforms. Payment method buttons are only shown in their supported countries.
If you don’t see the demo, try viewing this page in a supported browser.
| Option | Description |
|---|---|
| Merchant country | Set this using the publishable key that you use to initialize Stripe.js. To change the country, you must unmount the Express Checkout Element, update the publishable key, then re-mount the Express Checkout Element. |
| Background color | Set colors using the Elements Appearance API. Button themes are inherited from the Appearance API but you can also define them directly when you create the Element. |
| Desktop and mobile size | Use the dropdown to set the max pixel width of the parent element that the Express Checkout Element is mounted to. You can set it to 750px (Desktop) or 320px (Mobile). |
| Max columns and max rows | Set these values using the layout parameter when you Create the Express Checkout Element. |
| Overflow menu | Set this using the layout parameter when you Create the Express Checkout Element. |
| Collect shipping address | To collect shipping information, you must pass options when creating the Express Checkout Element. Learn more about collecting customer details and displaying line items. |
Before you begin
- Add a payment method to your browser. For example, you can add a card to your Google Pay account or to your Wallet for Safari.
- Serve your application over HTTPS. This is required in development and in production. You can use a service such as ngrok.
- Register your domain in both a sandbox and live mode.
Set up StripeServer-side
First, create a Stripe account or sign in.
Use our official libraries to access the Stripe API from your application:
Enable payment methods
By default, Stripe uses your payment methods settings to determine which payment methods the Express Checkout Element presents. You can also configure specific payment methods on your Checkout Session using the payment_method_types attribute.
Supported payment methods
The card payment method type automatically enables Apple Pay and Google Pay. When using Link, you must also pass the card payment method type.
| Payment method | Payment method type |
|---|---|
| Amazon Pay | amazon_ |
| Apple Pay | card |
| Google Pay | card |
| Link | link, card |
| PayPal | paypal |
Create a Checkout SessionServer-side
Create a Checkout Session on your server to control the payment flow. The Checkout Session defines your line items, shipping options, and other settings for the payment.
curl https://api.stripe.com/v1/checkout/sessions \ -u ":" \ -d "line_items[0][price]={{PRICE_ID}}" \ -d "line_items[0][quantity]=1" \ -d mode=payment \ -d ui_mode=elements \ -d return_url={{RETURN_URL}}sk_test_Hrs6SAopgFPF0bZXSN3f6ELN
Set ui_ to elements to integrate with the Express Checkout Element. The returned Checkout Session includes a client secret, which the client uses to securely display the checkout interface.
You can configure additional options on the Checkout Session:
- phone_number_collection: Collect customer phone numbers
- shipping_address_collection: Collect shipping addresses
- shipping_options: Provide shipping rate options
- automatic_tax: Enable automatic tax calculation
Set up Stripe ElementsClient-side
The Express Checkout Element is automatically available as a feature of Stripe.js. Include the Stripe.js script on your checkout page by adding it to the head of your HTML file. Always load Stripe.js directly from js.stripe.com to remain PCI compliant. Don’t include the script in a bundle or host a copy of it yourself.
<head>
  <title>Checkout</title>
  <script src="https://js.stripe.com/dahlia/stripe.js"></script>
</head>
Retrieve the client secret from your server:
// Set your publishable key: remember to change this to your live publishable key in production // See your keys here: https://dashboard.stripe.com/apikeys const stripe = Stripe();'pk_test_A7jK4iCYHL045qgjjfzAfPxu'
Create a fetchClientSecret function to retrieve the client secret from your server:
const clientSecret = fetch('/create-checkout-session', {method: 'POST'})
  .then((response) => response.json())
  .then((json) => json.client_secret);
Create the Checkout instance:
const checkout = stripe.initCheckoutElementsSdk({
  clientSecret
});
Create and mount the Express Checkout ElementClient-side
The Express Checkout Element contains an iframe that securely sends the payment information to Stripe over an HTTPS connection. The checkout page address must also start with https://, rather than http://, for your integration to work.
The Express Checkout Element needs a place to live on your payment page. Create an empty DOM node (container) with a unique ID in your payment form.
<div id="express-checkout-element">
  <!-- Express Checkout Element will be inserted here -->
</div>
<div id="error-message">
  <!-- Display an error message to your customers here -->
</div>
When the form has loaded, create an instance of the Express Checkout Element and mount it to the container DOM node:
// Create and mount the Express Checkout Element
const expressCheckoutElement = checkout.createExpressCheckoutElement();
expressCheckoutElement.mount('#express-checkout-element');
Collect customer details and display line itemsClient-side
The Checkout Session you created on the server automatically determines the line items, total amount, and available payment methods. The Express Checkout Element uses this information to display the appropriate interface.
Handle payment confirmation
Listen to the confirm event when your customer finalizes their payment:
const loadActionsResult = await checkout.loadActions();
if (loadActionsResult.type === 'success') {
  expressCheckoutElement.on('confirm', (event) => {
    loadActionsResult.actions.confirm({expressCheckoutConfirmEvent: event});
  });
}
Handle dynamic updates
If you need to update the Checkout Session based on customer selections (such as shipping address or shipping rate changes), you can listen to events and update the session:
expressCheckoutElement.on('shippingaddresschange', async (event) => {
  const response = await fetch('/update-session-shipping', {
    method: 'POST',
    headers: {'Content-Type': 'application/json'},
    body: JSON.stringify({
      sessionId: checkout.session.id,
      shippingAddress: event.address
    })
  });
  const result = await response.json();

  if (result.error) {
    event.reject();
  } else {
    event.resolve();
  }
});

expressCheckoutElement.on('shippingratechange', async (event) => {
  const response = await fetch('/update-session-shipping-rate', {
    method: 'POST',
    headers: {'Content-Type': 'application/json'},
    body: JSON.stringify({
      sessionId: checkout.session.id,
      shippingRateId: event.shippingRate.id
    })
  });
  const result = await response.json();

  if (result.error) {
    event.reject();
  } else {
    event.resolve();
  }
});
Test the integration
Before you go live, test each payment method integration. To determine a payment method’s browser compatibility, see supported browsers. If you use the Express Checkout Element within an iframe, the iframe must have the allow attribute set to payment *.
Caution
Don’t store real user data in sandbox Link accounts. Treat them as if they’re publicly available, because these test accounts are associated with your publishable key.
Currently, Link only works with credit cards, debit cards, and qualified US bank account purchases. Link requires domain registration.
You can create sandbox accounts for Link using any valid email address. The following table shows the fixed one-time passcode values that Stripe accepts for authenticating sandbox accounts:
| Value | Outcome |
|---|---|
| Any other 6 digits not listed below | Success |
| 000001 | Error, code invalid |
| 000002 | Error, code expired |
| 000003 | Error, max attempts exceeded |
Disclose Stripe to your customers
Stripe collects information on customer interactions with Elements to provide services to you, prevent fraud, and improve its services. This includes using cookies and IP addresses to identify which Elements a customer saw during a single checkout session. You’re responsible for disclosing and obtaining all rights and consents necessary for Stripe to use data in these ways. For more information, visit our privacy center.